In this procedure, you add a point or line feature to the map and select a feature to which you want the new feature to snap. You also specify a snap tolerance, which is a radial distance around the new feature. The feature you want to snap the newly added feature to must be all or in part within this distance.
|
1.
|
|
2.
|
On the Map Tools pane, click the More Tools button and then click Editing. The Editing window opens.
|
 |
|
3.
|
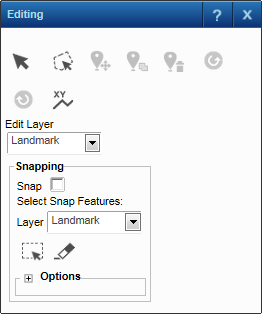
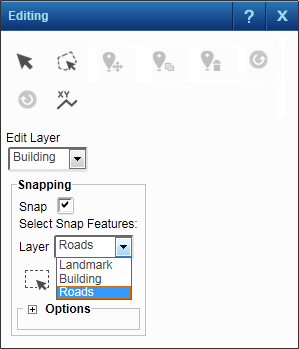
In Edit Layer, select the layer with point or line features where you want to add a feature.
|
|
4.
|
Select the Snap option.
|
|
5.
|
In the Select Snap Features section, in the Layer drop-down list, select the layer (feature group) containing features you want to snap new features to.
|
 |
|
6.
|
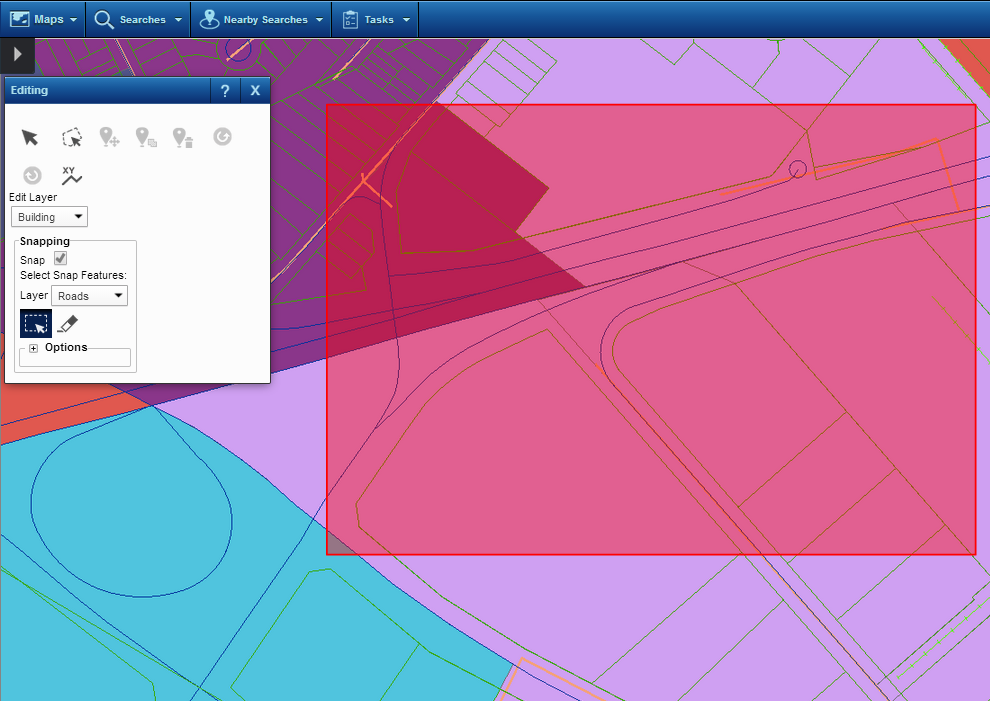
On the map, select the features where you want new features to be snapped by drawing a shape over them. Click, hold and drag to draw a rectangle covering the features you want to select.
|
|
•
|
For example, if you want to add new buildings to the map and have them snapped to the closest roads, use the Select Snap Features tool to select those roads.
|
 |
 |
|
7.
|
|
•
|
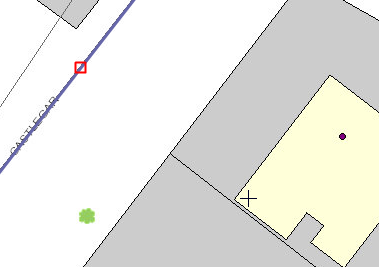
In Type, Edge is selected by default, meaning the new feature will be snapped to the closest segment of the feature that is within the tolerance buffer indicated in Tolerance. See explanations for the Type options below.
|
|
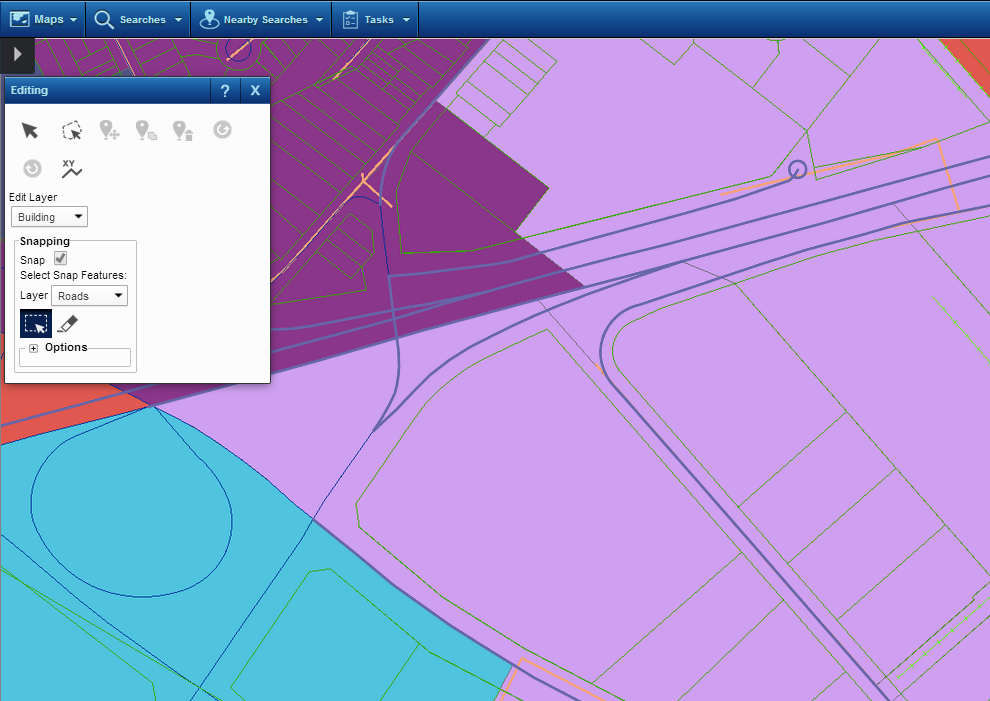
The new feature you add is snapped to the closest part of the selected snap feature.
|
The crosshairs cursor
 |
|
|
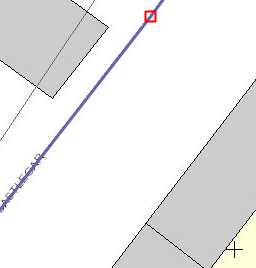
The new feature you add is snapped to the end of the closest segment of the selected snap feature.
|
The crosshairs cursor
 |
|
|
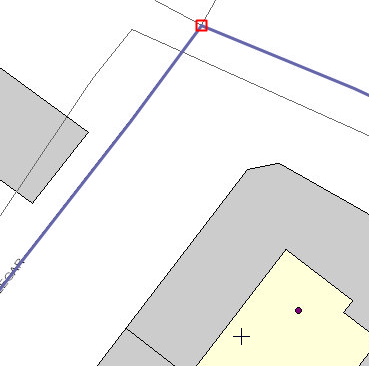
The new feature you add is snapped to the closest intersection of two selected snap features.
|
The crosshairs cursor
 |
|
8.
|
In Tolerance, specify a number of units of radial distance that is added as a snapping buffer around the feature you will add to the map.
|
|
•
|
The feature you add to the map is snapped to the closest selected snap feature found all or in part within this tolerance buffer. By default this is a number of pixels. You have the option of selecting Meters as the unit of measure in the drop-down list to the left.
|
|
9.
|
|
10.
|
Click the map to place the point or first vertex on the map. A vertex is a change in direction of a line.
|
|
12.
|
In the Attribute Editor, if there are any editable text boxes, specify any necessary values as required and click Update.
|
|
Whether or not there are editable text boxes is configured by your map administrator. If all the text boxes are read-only, click Update.
|