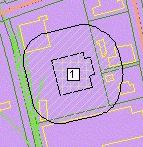
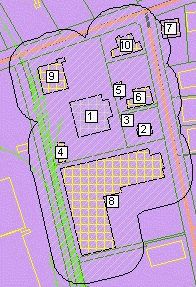
A buffer is the specified distance in all directions around a selected map item. Buffers are used to designate zones around a key area and they can be added directly on a map or applied to items in a selection.
|
Most aspects of this buffer tool are configured by the map administrator including the name of the buffer tool. Although the names can vary, buffer tools are found under the Tools menu in the map viewer and the tool name will reflect its purpose.
|
|
1.
|
|
2.
|
On the Map Tools pane, click the More Tools button and then select the buffer tool name. The buffer tool window opens.
|
|
3.
|
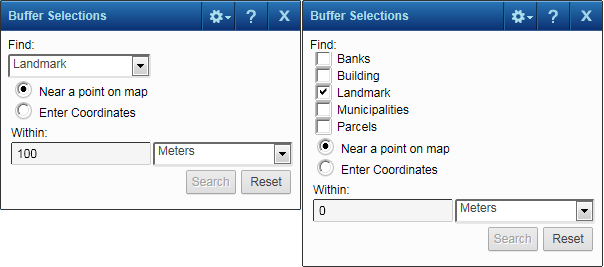
In the Find field, select the data type you want to locate. Depending on how the tool is set up, you can either select one or multiple data types.
|
 |
|
If a data type is not available for selection, the map is not at a zoom level where this type of data can be viewed.
|
|
•
|
Near a point on map. This option allows you to select a point on the map and all data of that type within the specified area is included.
|
|
•
|
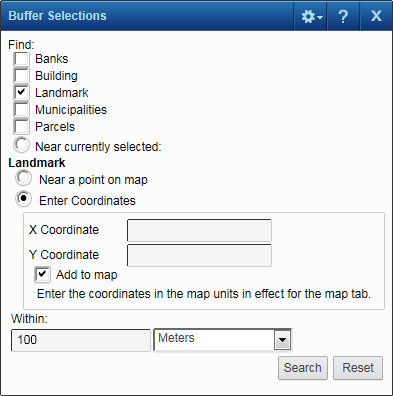
Enter Coordinates. This option allows you to enter coordinates on the map as the start point for the buffer. If multiple projection systems are available, select the projection system associated with the coordinates you want to use.
|
 |
|
5.
|
In the Within field, specify a search distance by entering a number and selecting a measurement unit.
|
 |
|
a.
|
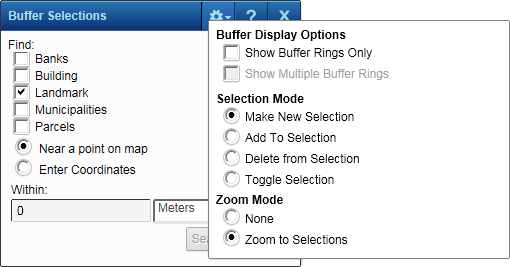
In the Buffer Display Options section, select one of the following options for drawing a buffer or proximity area around selected items on the map:
|
|
Show Buffer Rings Only
|
Draws the buffer shape around the selected items in the selection.
This is the only buffer display option for the Near a Point on the Map option.
|
 |
|
Show Multiple Buffer Rings
|
Draws multiple buffer shapes around the selected items when the buffer tool is used more than once and the Add to Selection option is selected.
|
 |
|
b.
|
In the Selection Mode section, select the option that defines how items are added or removed from the selection when you select features on the map. The options are the following:
|
|
c.
|
In the Zoom Mode section, select either Zoom To Selections to have the map zoom in or out to show the buffer area or None to have the map remain at the current map scale.
|
|
8.
|
Click Search.
|
|
•
|
If the feature group selected in the Buffer Selections tool is different from the original selections, the original selection displays underneath the new active selection. To reactivate the original selection, select its tab.
|
|
•
|
If the feature group selected in the Buffer Selections tool is the same as the original selections, the new buffer selections are displayed under the original selections in the same list.
|
|
•
|
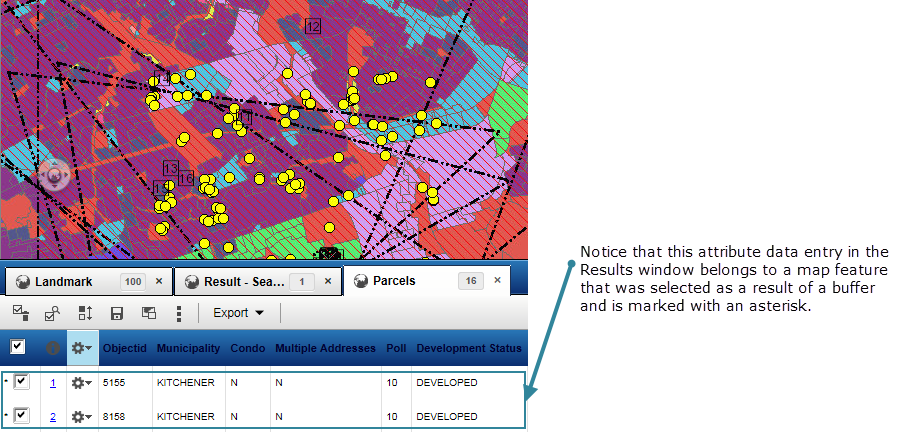
All selections in the Results window that were added as a result of using a buffer are shown with an asterisk (*).
|
 |
|
•
|
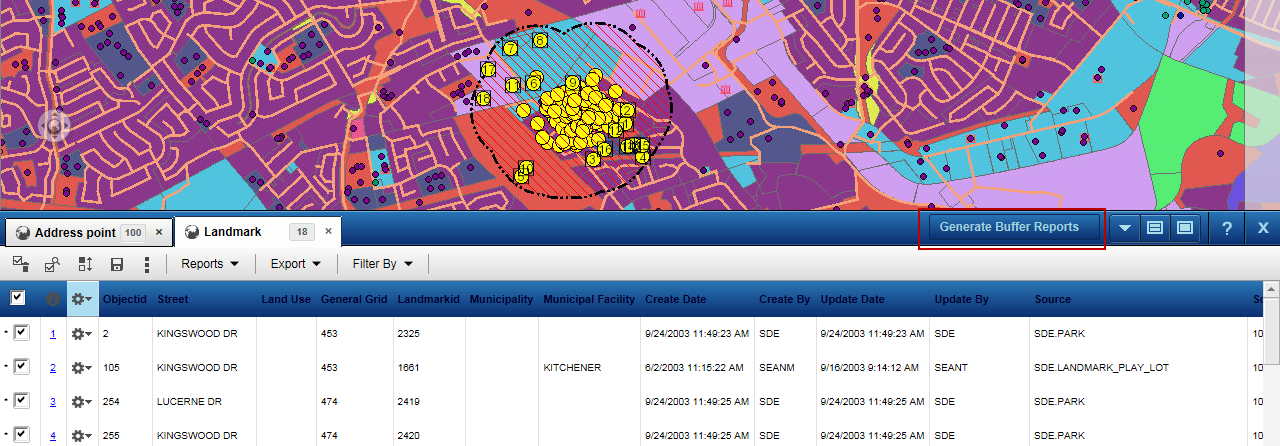
If reports for buffer selections have been configured by your map administrator, reports containing the data you selected with the buffer tool can be accessed from the top left corner of the Results window.
|
 |