|
1.
|
|
2.
|
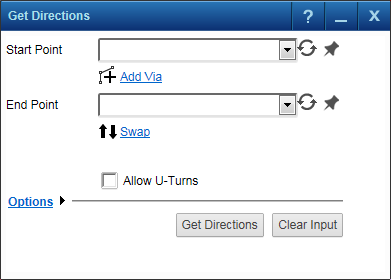
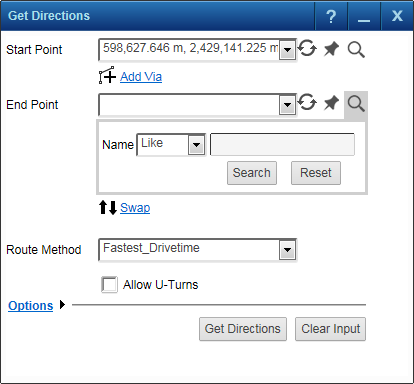
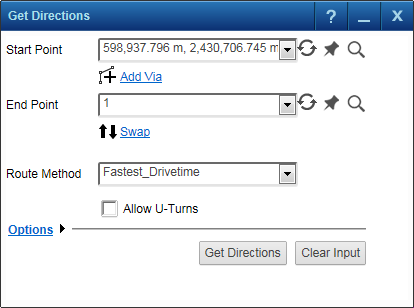
On the Map Tools pane, click the More Tools button and then select Get Directions. The Get Direction window opens.
|
 [
[|
3.
|
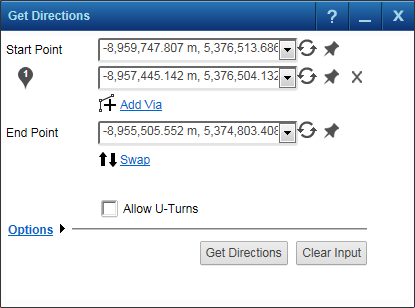
In the Start Point field, click the Pushpin icon
|
|
4.
|
In the End Point field, click the Pushpin icon
|
|
5.
|
To include additional locations on the route, click Add Via link
|
 |
|
•
|
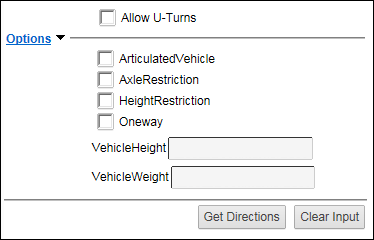
Click the Options link to view additional settings for the route. This options are configured by the administrator so the options and labels will vary from the shown options.
|
 |
|
7.
|
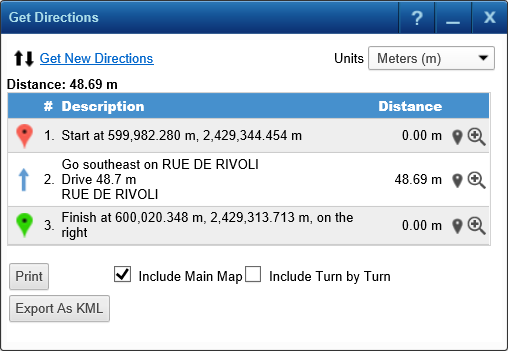
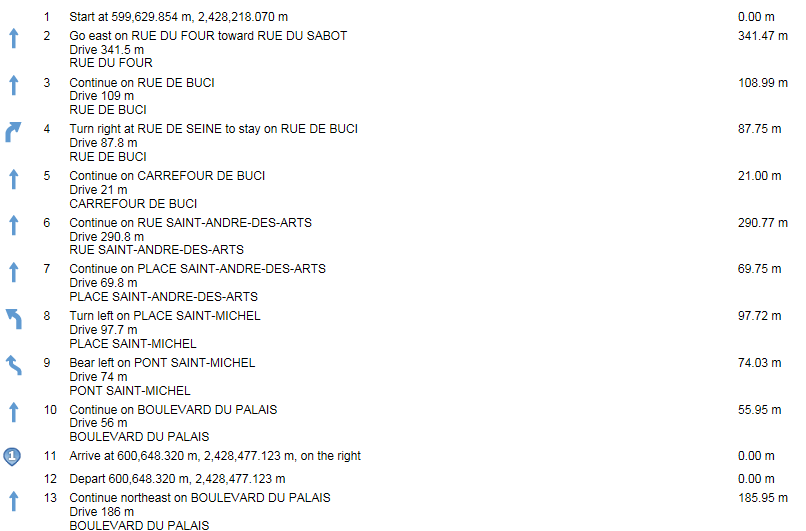
After selecting all options, click Get Directions.
|
 |
|
9.
|
Export the route as KML by clicking the Export as KML button.
|
 |
|
•
|
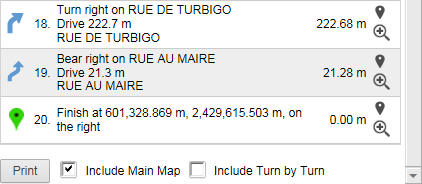
If you select the Include Main Map check box, the map is displayed on the first page with the directions listed on the following page.
|
 |
|
•
|
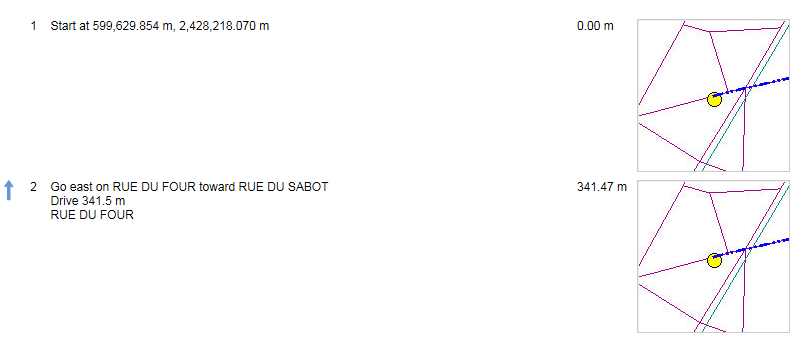
If the Include Turn by Turn check box is selected, a map image for each turn is shown.
|
 |
|
11.
|
Click Print. The Print Preview window opens.
|
|
12.
|
(Optional) In the Comments window, enter any description or comments for these directions. If included, these comments are displayed either under the map or if the map is not included, before the directions.
|
|
13.
|
In the Format field, select either HTML or PDF for the exported results and click the Preview button. The print preview opens in the application
|
|
1.
|
 |
 |
|
4.
|
Enter the remaining criteria as required and click Get Directions.
|