Point events typically represent occurrences along a route, such as incidents that have been reported on a highway, or flow gauges along river reaches. Linear events can be used to model portions of routes. You can modify line or point events if your map administrator has configured the functionality. See the related topics below to add a new point or line event, delete an existing point or line event, merge two point events or line events into one, split line events or point events into two.
|
1.
|
|
2.
|
|
3.
|
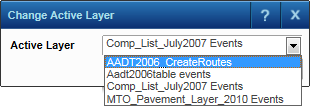
From the Active Layer drop-down, select the layer that stores routes.
|
 |
|
4.
|
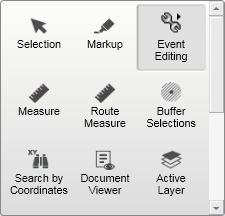
Select the Tools menu and click the Event Editing tool.
|
 |
|
5.
|
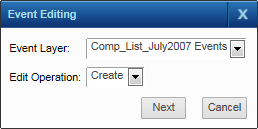
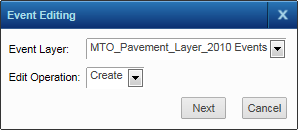
In the Event Editing dialog box that appears, in Event Layer, select a point event layer.
|
 |
|
6.
|
In Edit Operation, select the editing operation you want to perform from one of the options below and then click Next.
|
|
|
|
•
|
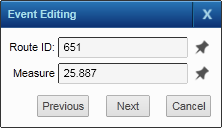
In Route ID, click the pushpin icon
|
 |
|
•
|
In Measure, click the pushpin icon
(If there are any editable attributes on the point event layer, a Next button appears. Click it and specify appropriate values for any editable text boxes.) |
|
•
|
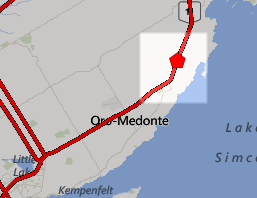
Click the Create button. The new point event is displayed on the map.
|
 |
|
•
|
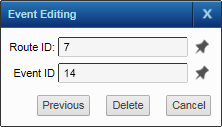
In Route ID, click the pushpin icon
|
|
•
|
In Event ID, click the pushpin icon
|
|
•
|
Click the Delete button. The point event is removed from the map.
|
|
1.
|
|
2.
|
|
3.
|
From the Active Layer drop-down, select the layer that stores routes.
|
|
|
|
4.
|
Select the Tools menu and click the Event Editing tool.
|
|
|
|
5.
|
In the Event Editing dialog box that appears, in Event Layer, select a linear event layer.
|
 |
|
6.
|
In Edit Operation, select the editing operation you want to perform from one of the options below and then click Next.
|
|
|
||||
|
|
|
•
|
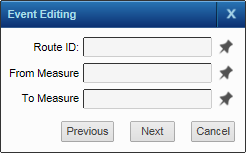
In Route ID, click the pushpin icon
|
 |
|
•
|
|
•
|
In To Measure, click the pushpin icon
(If there are any editable attributes on the linear event layer, a Next button appears. Click it and specify appropriate values for any editable text boxes.) |
|
•
|
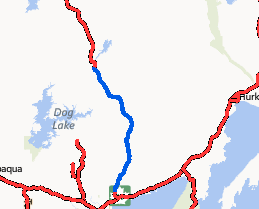
Click the Create button. The new linear event is displayed on the map.
|
 |
|
•
|
In Route ID, click the pushpin icon
|
|
•
|
In Event ID, click the pushpin icon
|
 |
|
•
|
Click the Delete button. The linear event is removed from the map.
|
|
•
|
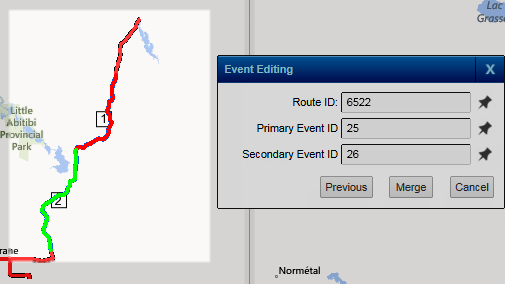
In Route ID, click the pushpin icon
|
|
•
|
In Primary ID, click the pushpin icon
|
|
•
|
In Secondary ID, click the pushpin icon
|
 |
|
•
|
Click Merge. A new linear event is created that encompasses both linear events you chose. Use the Selection tools in the Tools menu to select the resulting merged linear event to view its attributes in the Results window.
|
|
|
|
•
|
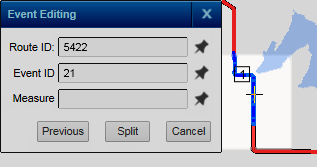
In Route ID, click the pushpin icon
|
|
•
|
In Event ID, click the pushpin icon
|
|
•
|
In Measure, click the pushpin icon
|
 |
|
•
|
Use the Selection tools in the Tools menu to select the new linear events to highlight them and display their attribute data in the Results window.
|