Once the users submit their CAD drawings, they can track the real-time status of their previously uploaded tasks. Once the CAD files are uploaded, its features are extracted to the GIS store.
 |
|
1.
|
In the OnPoint website, click Upload in the Data Center section. The Upload CAD Drawings page appears.
|
|
2.
|
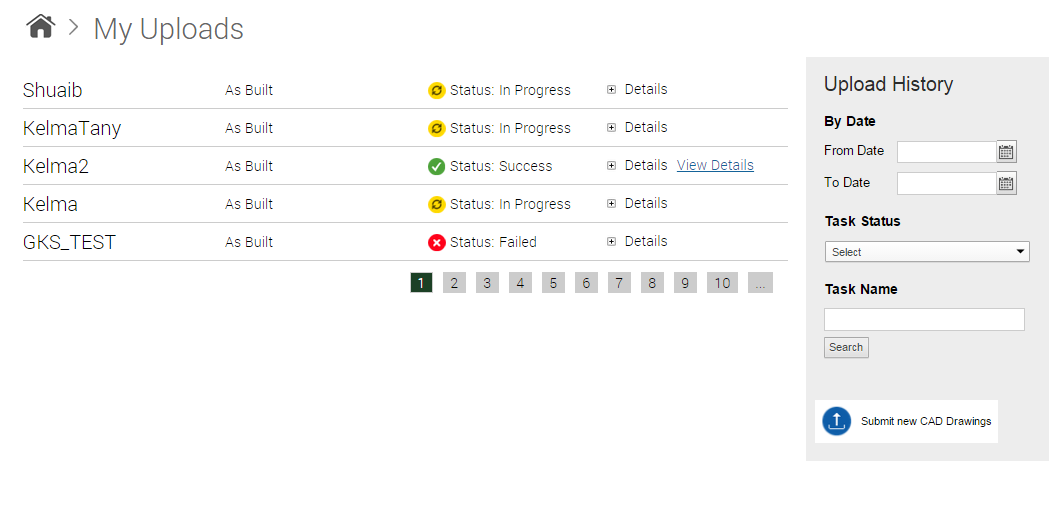
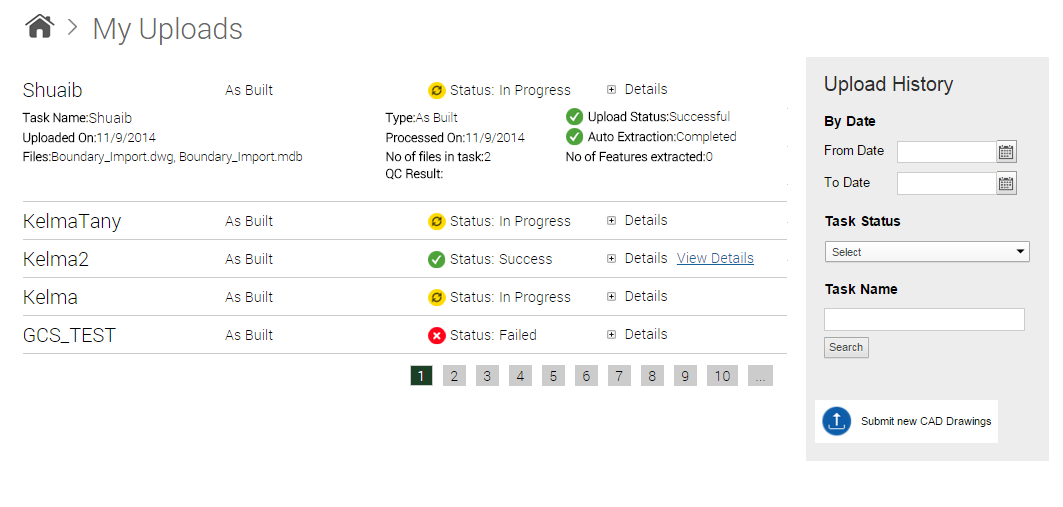
In the My Uploads section, click View All. The My Upload page appears and displays the status of all tasks that you have uploaded.
|
|
3.
|
 |
|
4.
|
To view the extracted GIS features in the map viewer, click View Details hyperlink. The CAD to GIS dialog box appears.
|
|
5.
|
From the Layer drop-down, select a layer to display all the extracted features pertaining to that layer.
|
|
8.
|
Click Show on Map. The extracted features appear in the map viewer..
|
|
1.
|
In the By Date section, select the start and end date.
|
|
2.
|
From the Task Status drop-down list, select whether you want to view in-progress, completed, failed or yet-to-start tasks.
|
|
3.
|
In the Task Name field, enter the task name.
|
|
4.
|
Click Search.
|
|
•
|
Click Submit New CAD Drawing. The Submit CAD Drawings page appears.
|